How to take product photos that will help rent your goods?
If you are looking for a way to make items for rent on your ULend.Me stand out, it’s important to learn how to take product photos that truly showcase just how amazing your stuff is.
With that in mind, below you’ll find tips and tricks you can use to take better product photos that can lead to more rentals.
Product photos are worth a thousand words
Clicking the button of your camera is easy, but using your camera effectively is something you need to master in order to stay competitive in the world of renting products online.
Consider the fact that whenever you’re renting goods online, you’re probably paying close attention to the images you’re seeing — often without even realizing it.
Let’s say Renter A has great products for rent, but they each come with lackluster images. Renter B has the exact same products, but every item for rent has images with fabulous lighting, making them look catalogue-worthy. Who are you going to rent from?
Odds are you said you’re going to rent from the site with the higher quality photos.
Let’s think about why that ties into how to take product photos. Aside from the fact that better photos are more appealing, when a renter takes the extra step to make sure their images are the best they can be, it tells you that they genuinely care about what they’re renting, and the people they’re renting to.
Therefore, the renter with the better photos will most likely be more professional to work with, and your items are going to be handled with the care that you expect from a reputable company.
Product photos give your potential renters the first impression of what their interaction and transactions with you will be like.
How to take product photos that stand out
Use these tips to take better product photos:
- Invest in the right equipment.
- Use a tripod.
- Take extra shots.
- Focus on the details.
- Use a background that won’t distract from the product.
- Consider using a lightbox.
- Make smart lighting choices.
- Practice with lighting until you get it right.
- Learn the ins and outs of your camera.
- Avoid putting too many products in a single shot.
- Use editing software.
Let’s dive in, shall we?
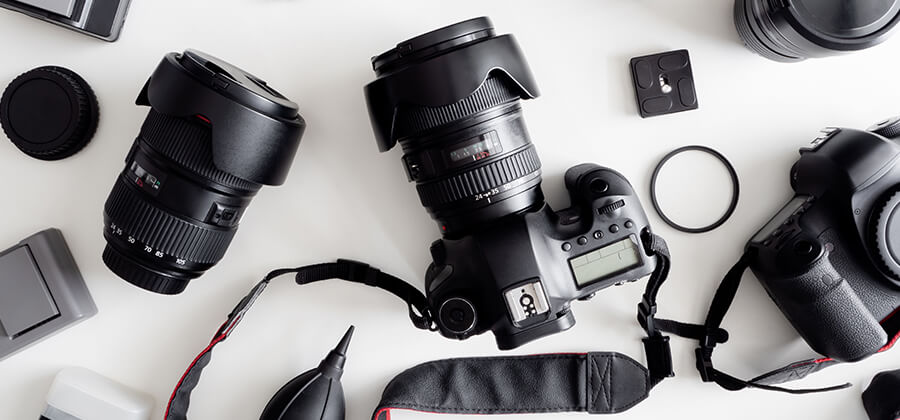
1. Invest in the right equipment
Though it is true you can take images with your smartphone, you might want to consider using fancier cameras for your photos. DSLR cameras can produce higher quality images, make it easier to manipulate depth of field, and feature presets to do all of the hard work for you.
2. Make life easier on yourself by getting a tripod
There’s nothing worse than a blurry image, and tripods will help you avoid this. Let’s say you need a longer exposure time. Using a tripod will help you to do just that without blurring the shot. You need to make sure each image is crisp, and in focus.
3. Take more shots than you think you need
Use different angles, and different positions, so that you have plenty of options when you’re editing your images to see which works best.
Sometimes renters like to see more than one viewpoint of a product, so giving them multiple angles might be just what you need to secure the rental.
4. Focus on the details
Giving a close-up of the details of your item could convince renters that are debating whether or not to rent your items to go ahead and click “book.”
5. Use a background that won’t distract from the product
One of the reasons white is often used as the background color for product photos is that it’s less distracting than a more colorful background. Sure, in some cases it might seem like a good idea to put your product against a colorful or wild background, but for the most part you’re better off with a solid color to leave the focus on one thing — the item you’re trying to get someone to rent.
6. Consider using a lightbox
A lightbox for smaller items is designed to produce images with diffused lighting from all angles. Using one can help you take images without any shadows appearing around your products.
In fact, there are plenty of tutorials online that teach you how to make your own lightbox super cheap.
7. Make smart lighting choices
As you explore how to take product photos, remember many people prefer studio lights to natural light. The biggest reason for this is consistency. You want every image to look just as crisp as the last one you took. The other reason for using studio lights is that you can predict exactly how they will look at all hours of the day.
On the other hand, when you’re taking product photos in the sunlight, you might find yourself needing to change angles, or your entire set up every single time the sun changes position. This, along with moving clouds, might limit the window of time you have to take your photos.
8. Practice with your lighting until you get it right
You want to learn the proper positions of where to put your lights, and you might need to play with angles and test until you see which positions make your products look the best.
It’s also important to make sure that if you’re shooting on or near a reflective surface, the lights don’t reflect on the products. You’ll also want to be cognizant of glare that could appear on your items.
9. Learn the ins and outs of your camera
We are fortunate enough to live in a time where there are written and video tutorials available for just about anything you could want to learn online. A quick search on YouTube will yield dozens of lessons.
You can learn how to use nearly every camera that’s available on the market, editing software to help you make your images perfect, and virtually every element of the entire photo taking process. In other words, short of buying a quality camera, you really have no excuse for bad product photos on your site.
10. Avoid the urge to put too many products in a single shot
Once you figure out how to take product photos, don’t go too crazy. The last thing you want is your potential buyer getting overwhelmed by the number of products in an image.
If they want to rent more than one thing, that’s fine, but bundling things in a single image should be avoided for the most part. Instead, it’s a good idea to take an individual photo of each product in said bundle so that your visitors can see each item by itself.
11. Use editing software for your product photos
Notice I didn’t say expensive editing software. The reality is there’s a lot of open-source editing software available for free. Some that are just as good, if not better than the expensive brands like Photoshop.
To name a few options, TechRadar recommends GIMP, Paint.Net and Photo Pos Pro. You don’t have to spend a lot of money to make your images look like a million bucks!
Keep testing until you find what works for your product photos
Remember, it is brilliant images that establish the credibility of not only what it is that you’re renting, but your credibility as well.
Keep testing, and playing with your images, and eventually you will find the best method for shooting your products. With any luck, the images will keep getting better, and will ultimately lead to you making more money than ever before.